
How to: setup an VOIPS/IM server using Openfire on Ubuntu
http://haxordoubt.blogspot.com/2013/04/how-to-setup-voipsim-server-using.html
If you looking for an alternative to public IM and VOIP services like Skype and want to create a private secure IM / VOIP network, this guide is for you.
This guide is intended as a relatively easy step by step guide to:
- Install and configure ignite realtime Openfire server.
- Install ignite realtime Spark IM client on Ubuntu. Also available for Windows and Mac OSX
Requirements:
- Ubuntu 12.04 or later installed machine to act as local IM server machine and one to act as IM client - the client computer can also be Windows or Mac OSX based as long as you install the relevant Spark client on these machines.
1. Install Java 6/7 JRE or JDK.
- On each computer you want to be part of your IM network require at least Java 6 JRE to be installed.
- Oracle / Sun Java 6 is no longer available in the Software Center as Oracle has changed the license to make it complicated to install and update on Ubuntu.
- More information about Java on Ubuntu available here.
- The easiest way I have found is to install Java on Ubuntu is via the Web Upd8 PPA .
- First add the PPA. Open a Terminal Window and enter :
sudo add-apt-repository ppa:webupd8team/java
sudo apt-get update
- A good idea to minimise any Java conflicts is to remove OpenJDK. open a Terminal Window and enter :
sudo apt-get remove --purge openjdk*
- Then to install Oracle Java 6 version open a Terminal Window and enter :
sudo apt-get install oracle-java6-installer
- To install Oracle Java 7 version open a Terminal Window and enter :
sudo apt-get install oracle-java7-installer
- Tip: Top check the Java version installed on your system open a terminal and enter :
java -version
2. Create new MySQL database for Openfire.
- You have several options for user authentication including LDAP, MtSQL or embeded DB.
- We will use the MySQL option and need to create a new database and user for Openfire to use.
- Log in to MySQL as root. Open the Terminal window and enter :
sudo mysql -u root -p
- Then enter the following to create the database and add user openfire. Replace openfirepasswrd with a new password :
mysql> CREATE DATABASE openfire CHARACTER SET='utf8';
mysql> CREATE USER 'openfire'@'localhost' IDENTIFIED BY 'openfirepasswrd';
mysql> GRANT ALL PRIVILEGES ON `openfire`.* TO 'openfire'@'localhost' WITH GRANT OPTION;
mysql> FLUSH PRIVILEGES;
mysql> quit
3. Install Openfire.
- The latest Debian version of Openfire can be downloaded from ignite realtime download page.
- Download Openfire 3.8.0 by opening a terminal window and enter :
cd /tmp
wget -O openfire_3.8.0_all.deb http://www.igniterealtime.org/downloadServlet?filename=openfire/openfire_3.8.0_all.deb
- Then install openfire. Open a Terminal window and enter :
sudo dpkg -i openfire_3.8.0_all.deb
- Ignore all installation errors regarding user and folder permissions. As long as you do not get any Java version errors and openfire does install you are good to go.
- You need to point the openfire server startup file to the correct home folder of the Java version installed on your system.
- Replace java-6-sun with java-6-oracle or java-7-oracle depending on your version of java in the /etc/init.d/openfire file in line 27, or open a terminal and enter:
sudo apt-get install rpl
sudo rpl '6-sun' '7-oracle' /etc/init.d/openfire
sudo service openfire start
4. Open firewall ports for Openfire.
- You need to open some ports on your firewall for Openfire to work.
- Port 9090 : for the web interface.
- Port 9091 : for SSL web interface.
- Port 5222 : the main port used for client/server communication by Openfire.
- Port 7777 : used for file transfer.
- Port 7443 : used for unsecured Http client connections.
- Port 7070 : used for secure Http client connections.
- Port 3478, 3479 : used by the STUN Servive for entities behind a NAT.
- Complete port list used by Openfire available here.
- If you are using ufw firewall open a terminal and enter:
sudo ufw allow 9090/tcp
sudo ufw allow 9091/tcp
sudo ufw allow 5222/tcp
sudo ufw allow 7777/tcp
sudo ufw allow 7443/tcp
sudo ufw allow 7070/tcp
sudo ufw allow 3478/tcp
sudo ufw allow 3479/tcp
5. Configure Openfire server with web admin console.
- The rest of the Openfire configuration will be done in the admin console.
- Replace mydomain below with your FQDN or IP address of your server.
- Open a browser and go to :
http://mydomain:9090/setup/index.jsp
- You will be presented with the Openfire setup wizard. Follow the instructions.
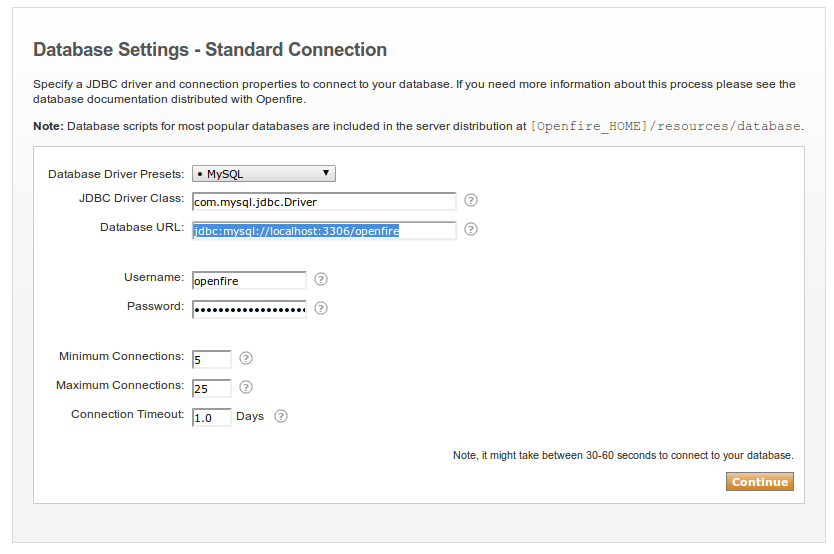
- When asked select Database Settings > Standard Connection
- Make sure you enter the MySQL database hostname and database name in the Database URL line below - this is easily missed .
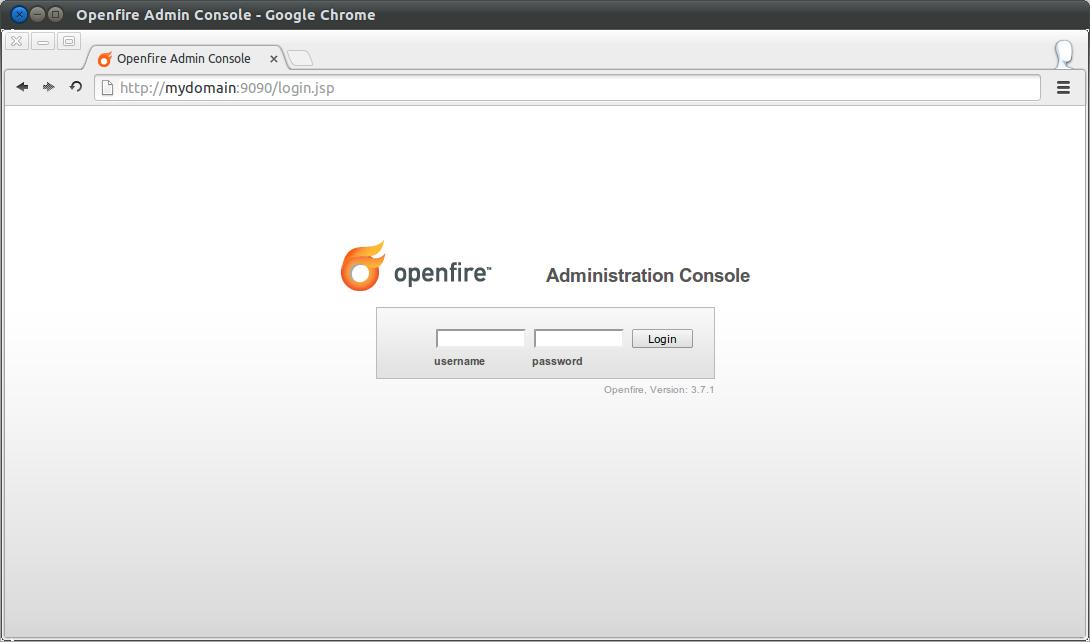
- When done you can login to the admin console with your openfire admin username and password on :
http://mydomain:9090/index.jsp
- You can also login securely with SSL encryption enabled on :
https://mydomain:9091/index.jsp
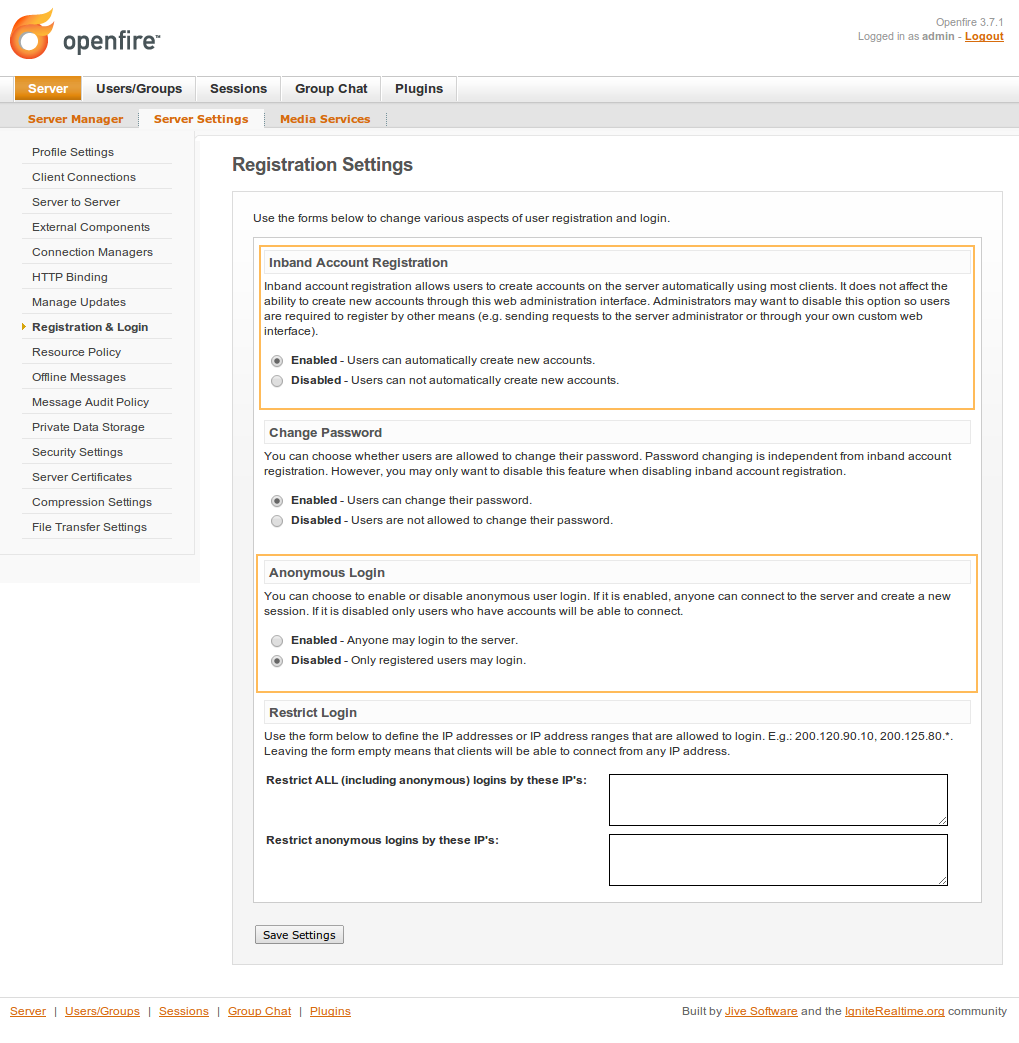
- Some very important settings to consider are found under Server > Server Settings > Registration Settings
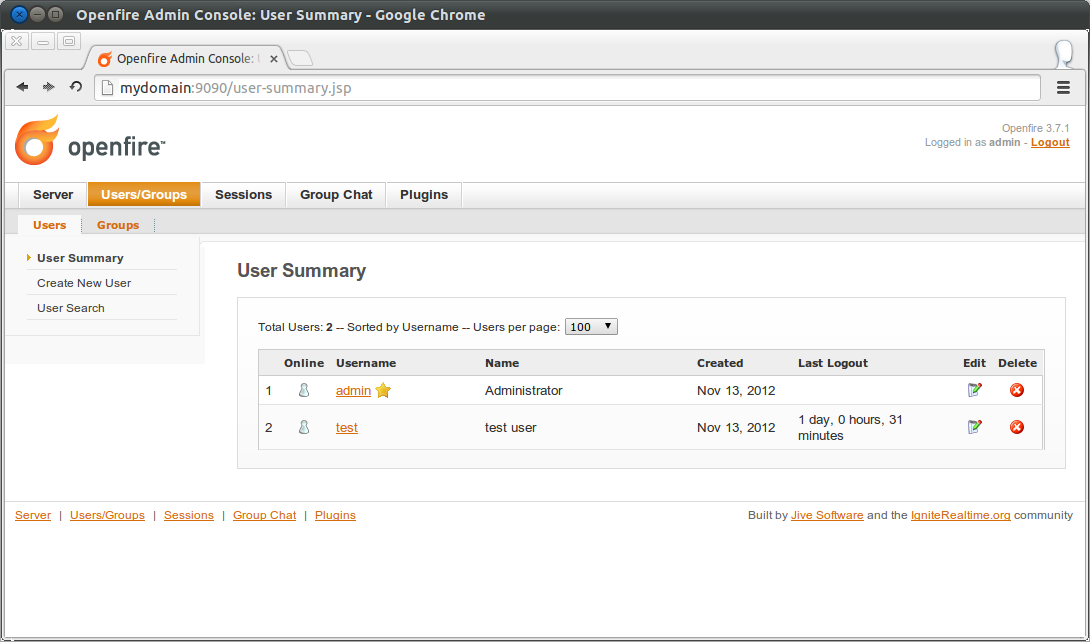
- Then go to the User/Groups menu and add IM users.
6. Download and Install Spark IM client.
- IM / VOIP client software needs to be installed on all machines that you would like to connect with the Openfire server.
- You can install any IM client that uses the XMPP/Jabber protocol for example the excellent Pidgin available for Ubuntu, Windows, and OSX. This is a good choice for Ubuntu users as it is available from the Ubuntu Software Center and easy to install. One tip with installing Pidgin on Windows and OSX - Make sure that you select xmpp under the URI Handlers options in the installer. This option is disabled by default for some reason.
- Jitsi as Video, Voice and Chat client for use with an Openfire server is another choice and available for Ubuntu, Windows and Mac OSX.
- If you are looking for a iPhone / iPad app to use as client with an Openfire server - Monal or ChatSecure or are just perfect. they are free, have no ads and work well.
- The native cross plaform client for Openfire is Spark, with client software for Linux, Windows and Mac machines.
- To install Spark on Ubuntu download the latest Linux version from the website, or open a terminal and enter:
cd /tmp
wget -O spark_2.6.3.tar.gz http://www.igniterealtime.org/downloadServlet?filename=spark/spark_2_6_3.tar.gz
tar -xvf spark_2.6.3.tar.gz
sudo mkdir /opt/spark
sudo mv Spark/* /opt/spark/
- You can run spark from the command line with :
/bin/bash /opt/spark/Spark
- Or if you want to create a Ubuntu Unity Desktop Launcher, create a desktop launcher file with :
sudo gedit /usr/share/applications/spark.desktop
- Then add the following information and save :
[Desktop Entry]
Name=Spark
Version=2.6.3
GenericName=Spark
X-GNOME-FullName=Spark
Comment=ignite realtime Spark IM client
Type=Application
Categories=Application;Utility;
Path=/opt/spark
Exec=/bin/bash Spark
Terminal=false
StartupNotify=true
Icon=/opt/spark/logo-spark.png
TargetEnvironment=Unity
- To add a logo to your Desktop launcher, open a terminal and enter:
cd /tmp
wget http://www.thefanclub.co.za/sites/default/files/images/howto/logo-spark_256x256.png
sudo mv logo-spark_256x256.png /opt/spark/logo-spark.png
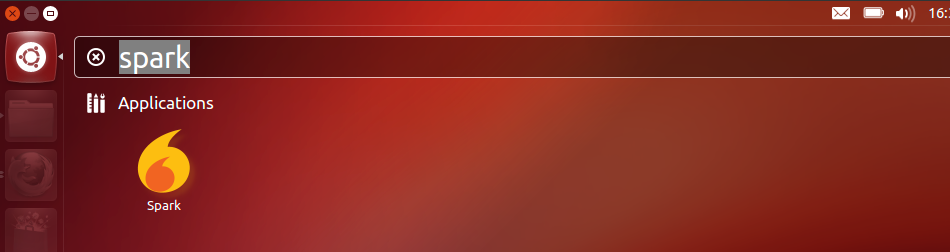
- You will then be able to search for Spark in you unity dash and launch Spark.
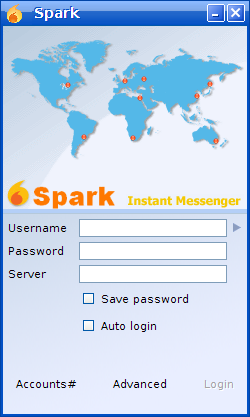
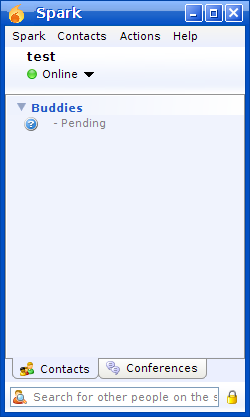
- Finally log in with a valid Spark user and enter the server details.
source:http://www.thefanclub.co.za


